Links List
The Links list page displays a list of all links available to use in AI-Console. When you create a link, you can attach it to content in a node in Flow Tooling, include it in the Customer Profile panels, assign it to a View, etc. Here, you’ll find the Link name & URL. When adding a link to a flow or other feature, you must add it from a list of all link names.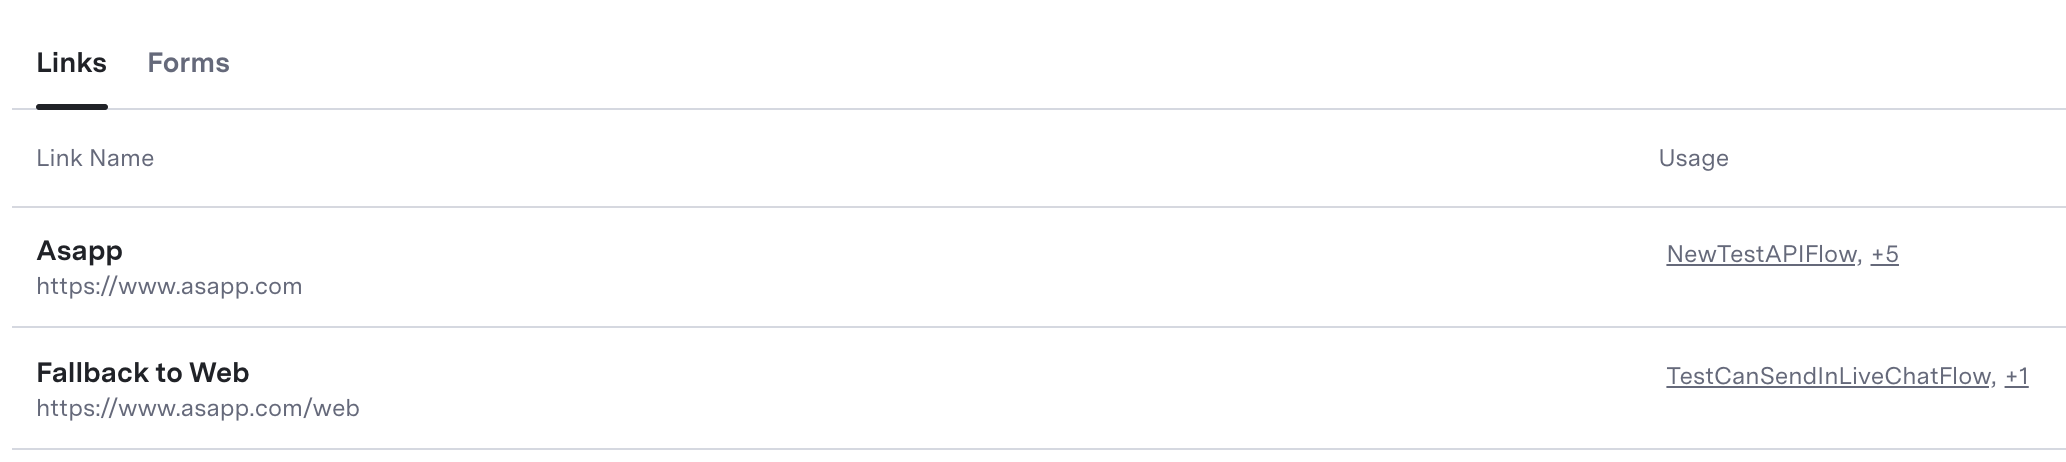
Create a Link
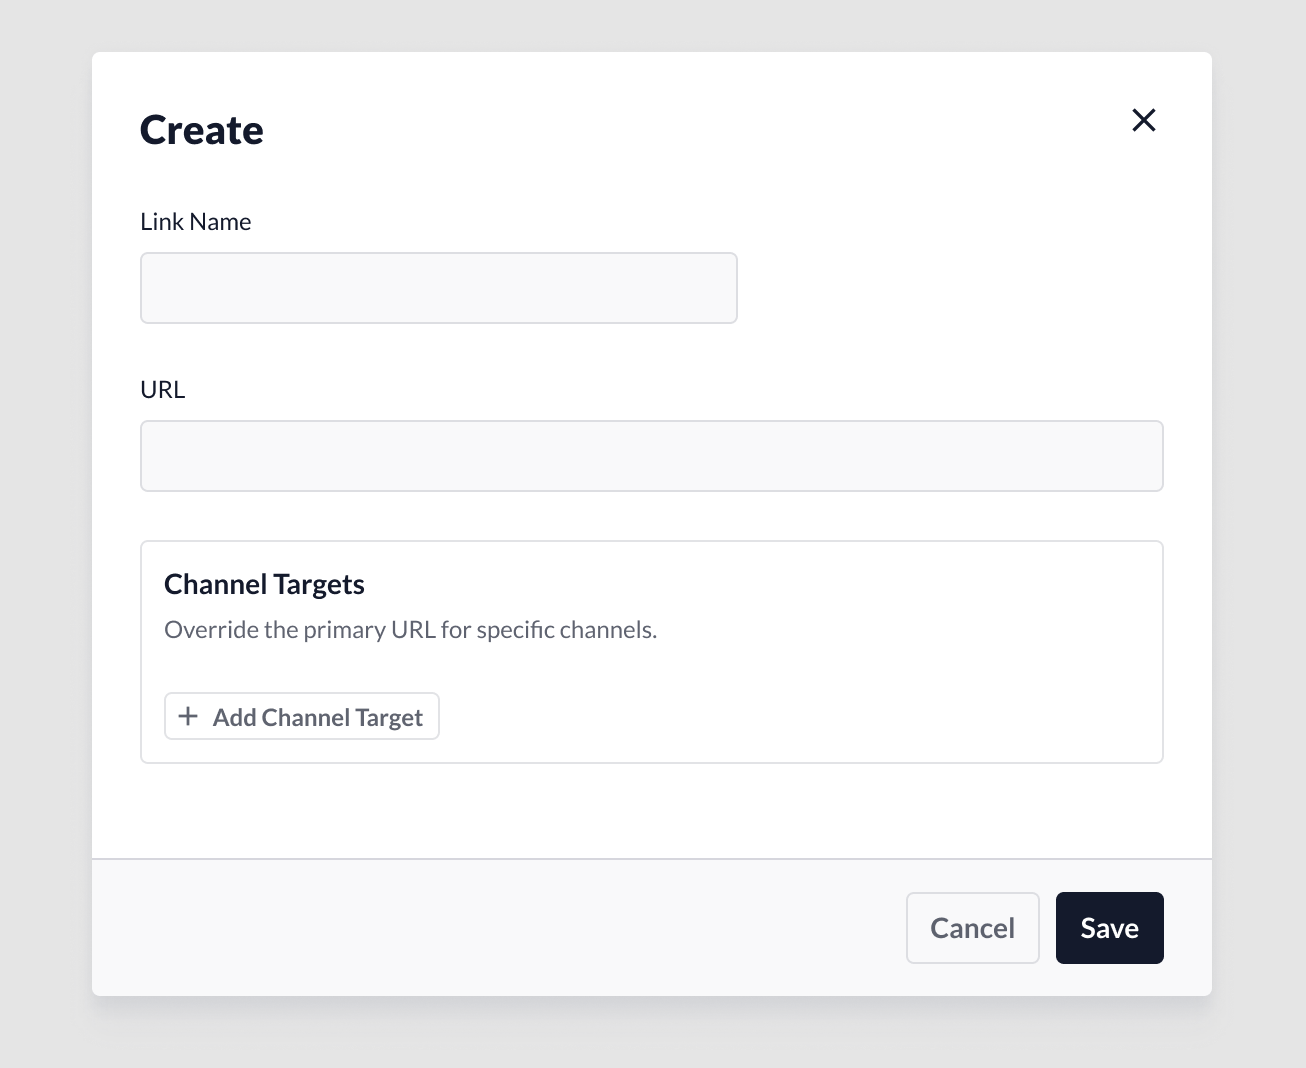
To create a link:- From the Links landing page, click the + button at the bottom right.
- A modal window will open.
- Link name: Provide a name for the link. Make the name descriptive so that other users can recognize its purpose.
- URL: Include the full external URL, including http:// (e.g.,
http://example.com/about). - Channel Targets: This feature is optional. It allows users to create a link variant that targets customers using a specific channel. See details below.
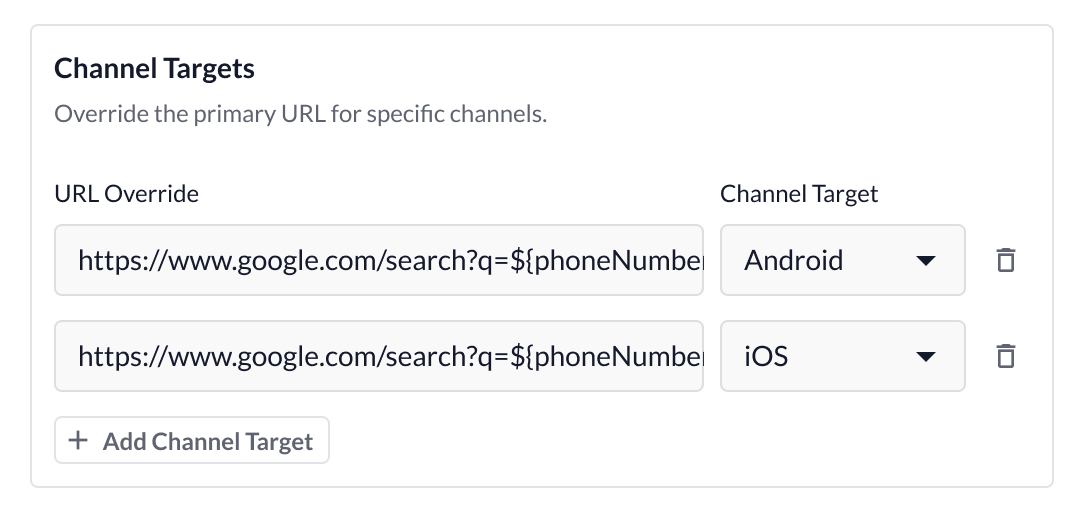
Add a Channel Target Variant
- Click Add Channel Target to add a URL variant. The system adds a new input field. a. URL Override: Include the URL variant for the targeted channel. Please follow the same URL syntax as described under Create a Link. b. Channel Target: From the drop-down menu, select which channel to target. Bear in mind that a single variant per channel is currently supported.
- Delete targets: To remove a target, click the Delete icon.
- Save: To save the link, click the Save button. The link will not be active until it is assigned to a flow, customer profile or any other feature that supports Links.
- Cancel: When you click, the system clears all changes.
Link Assignments
Once you create a link, you can send it to customers in flows. The Links feature will keep tabs on where each link has been assigned and provide quick access to those feature areas. When viewing a specific link, the Usage section indicates which flows are currently using the respective link. When you click, you can navigate directly to the flow. When a link is not assigned in any flow, the system displays ‘Not yet assigned’.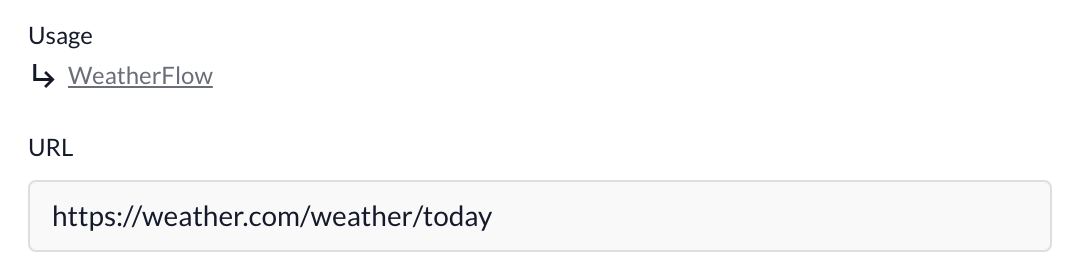
Edit a Link
Link changes are global, which means that the system immediately pushes saved changes to all features that reference the link.- From the Links landing page, click the link name you want to edit.
- Link ID: After you save a link for the first time, the system automatically assigns a unique identifier to the link. This identifier does not change over time, including when you edit the link. a. The Link ID can be referenced in Historical Reporting for your reporting needs.
- Assign changes to the configurations.
- Save: When changes are complete, click Save to automatically apply the changes.
Delete a Link
Links can be deleted, but only if they are not currently assigned. To delete a link that is assigned, remove the assignments first.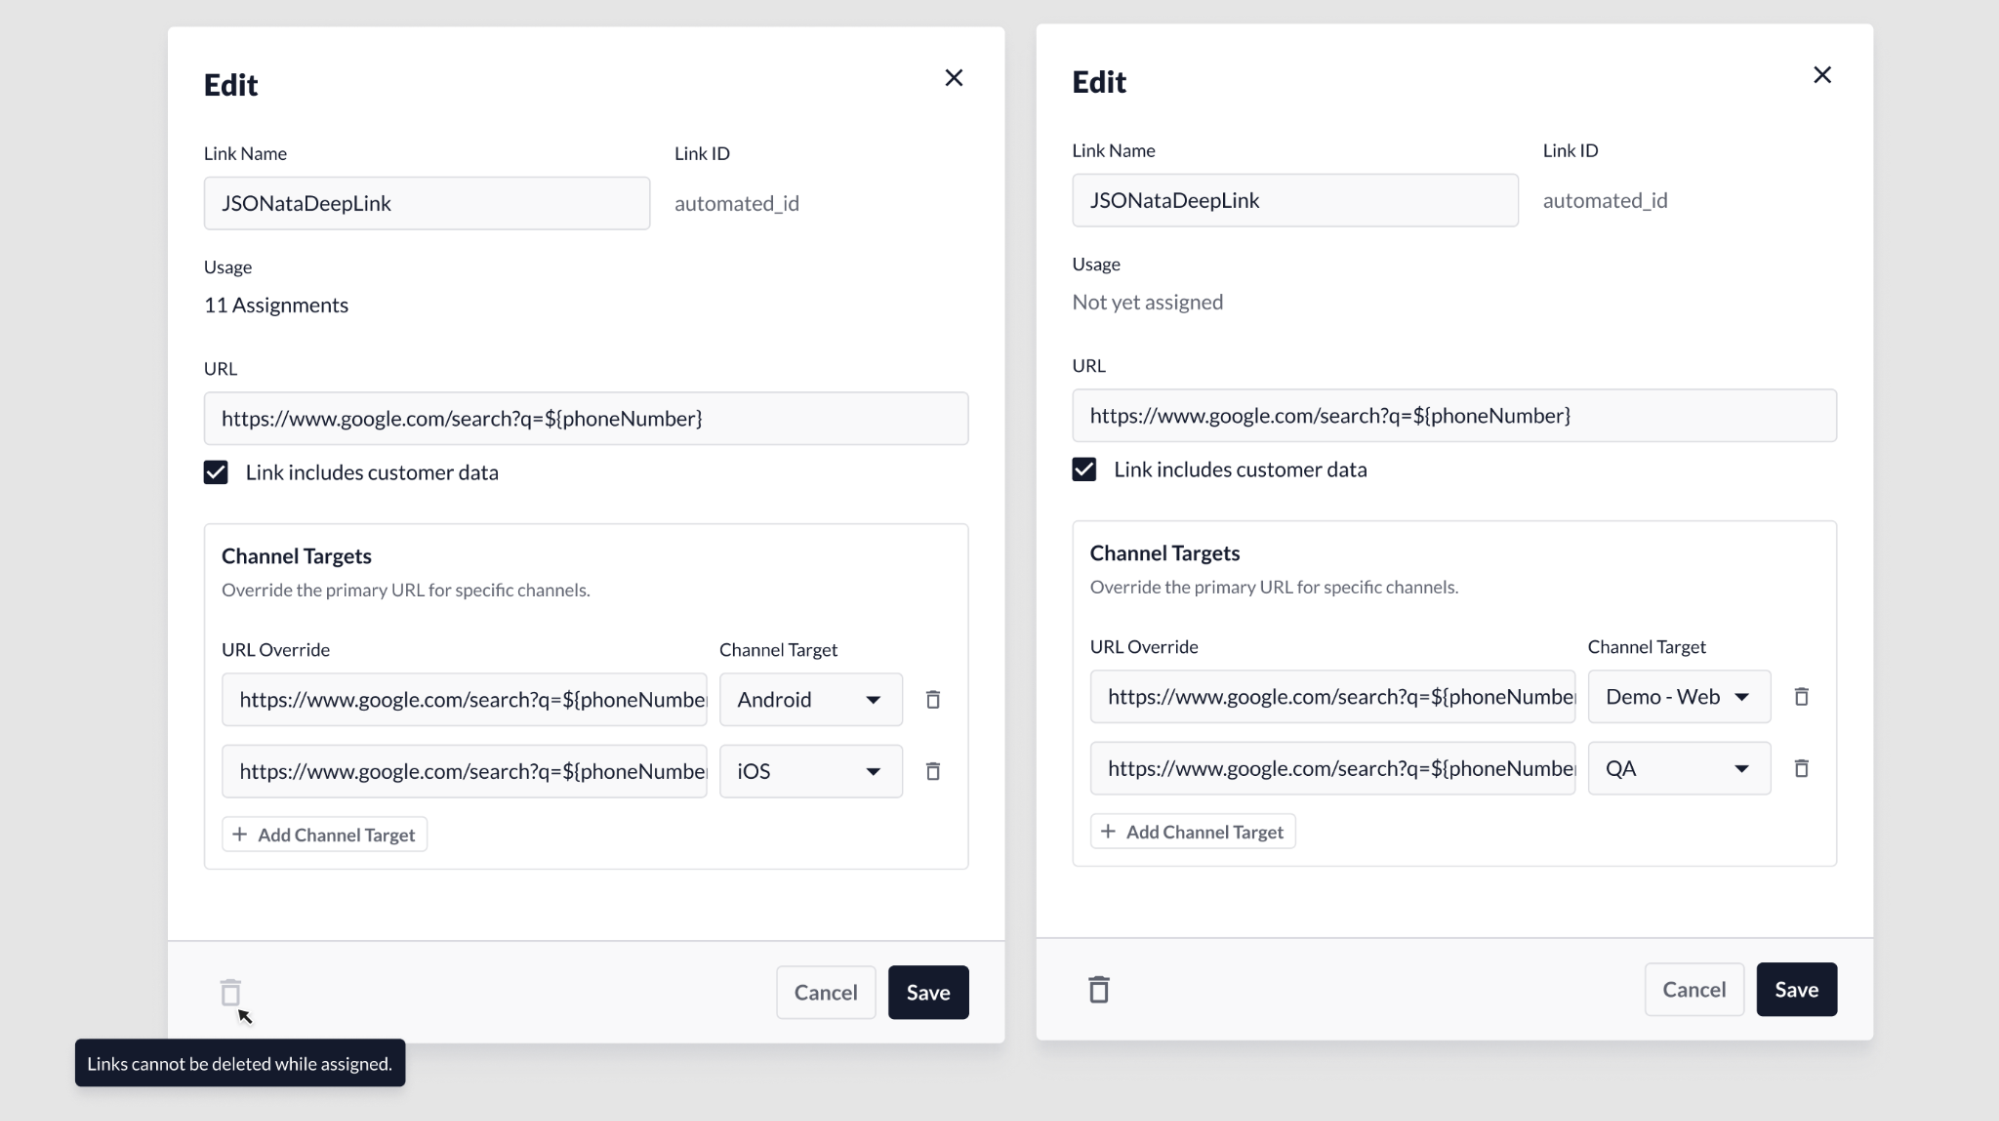
- If the link is assigned: When opening the Link modal, the Delete button will be disabled. The delete function will remain disabled until all link assignments have been removed.
- If the link is not assigned: The link can be deleted by clicking on the Delete button on the bottom-left area of the link modal.