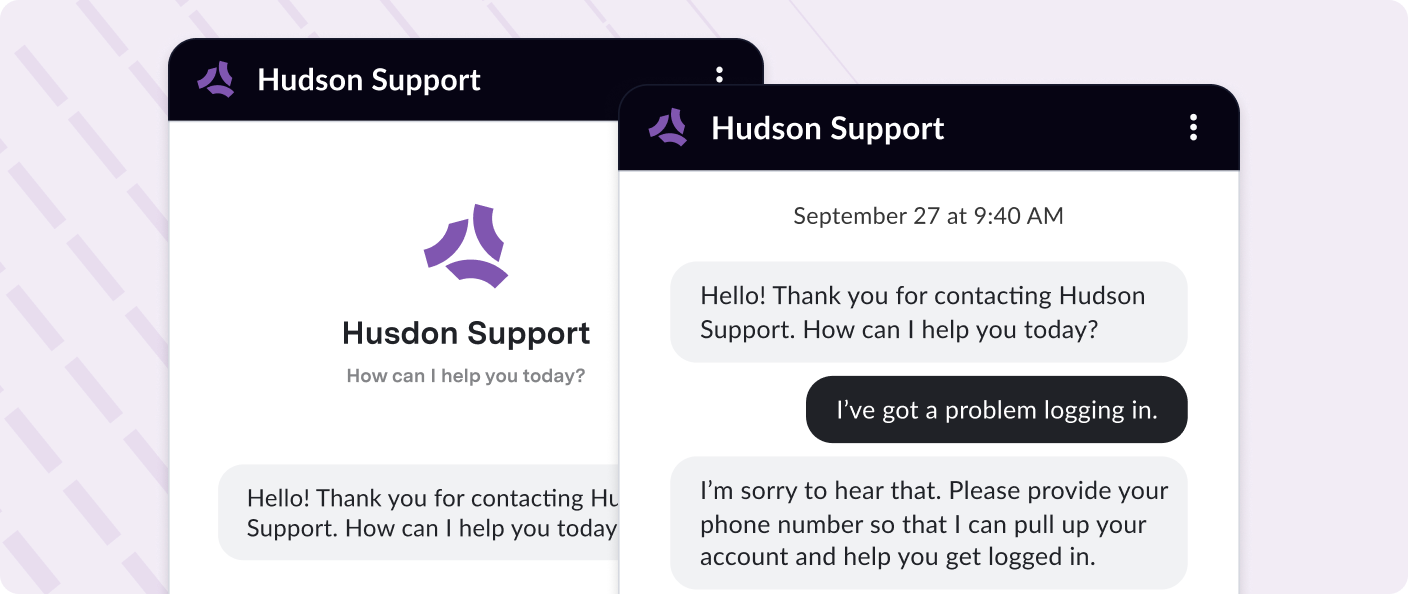
The ASAPP SDK works alongside your existing chat systems (like Salesforce Chat or Zendesk) rather than replacing them. When GenerativeAgent cannot handle a conversation, it transfers to your human agents using your original SDK.

How it works
The ASAPP SDK creates a seamless chat experience that works alongside your existing customer service infrastructure:- Website loads SDK: Your website loads the ASAPP SDK script, which initializes the chat interface
- User talks to GA via SDK: Customers interact with GenerativeAgent through the SDK’s chat interface
- GA resolves conversation or transfers to agent: GenerativeAgent either resolves the customer’s issue or determines when human assistance is needed
- Transfer triggers existing chat system: When a transfer is needed, the SDK calls your custom function to load your existing chat system SDK and unload the ASAPP SDK
- Customer talks to human agent: The customer continues the conversation with a human agent using your existing chat system’s interface
Before you begin
Before implementing the ASAPP SDK, you need:- Configure Tasks and Functions
- Contact your ASAPP account team to enable the web SDK
Getting started
Follow these steps to integrate the ASAPP SDK into your website:Obtain your App ID and configure SDK settings
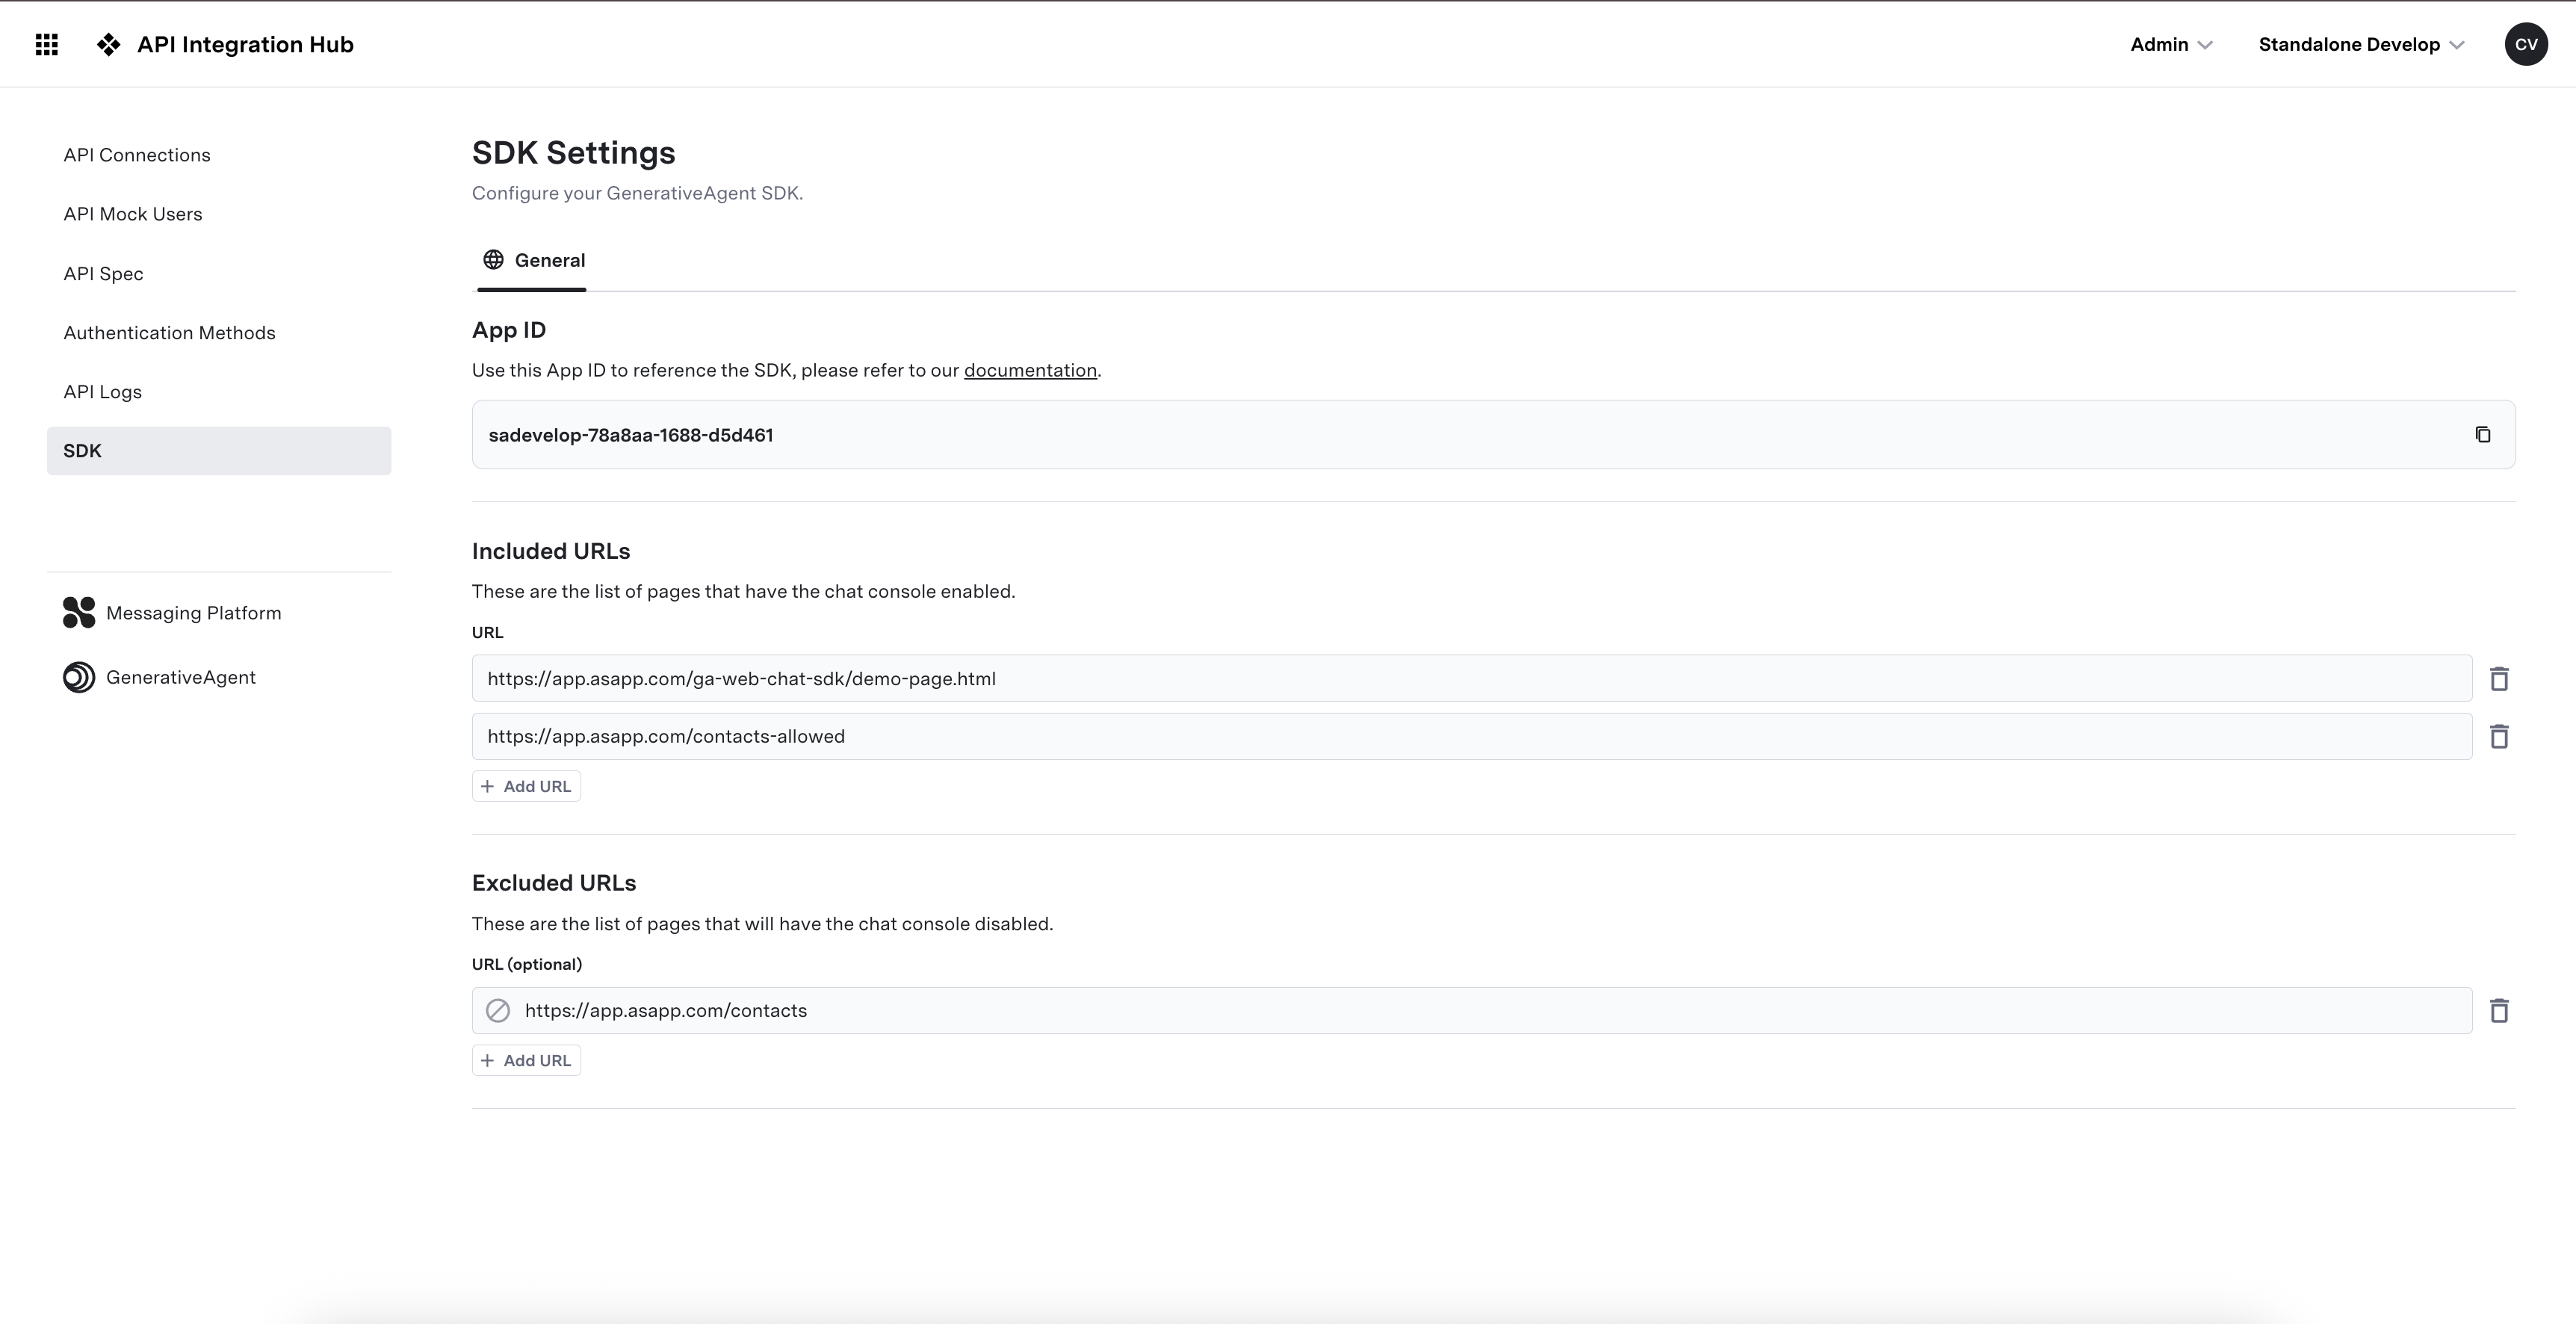
You can obtain your App ID and confirgure where the chat widget appears from the SDK Settings page.In the GenerativeAgent dashboard, navigate to the API Integration Hub and select SDK.In the SDK Settings tab, find your App ID, a unique identifier for your SDK integration. Configure the following settings:
- Include URLs: Pages where the chat widget should appear
- Exclude URLs: Pages where the chat widget should be hidden (e.g., checkout, admin pages)

The App ID is different from your API credentials and is specifically for the web SDK.
Add the script tag
Include the ASAPP SDK script in your website’s HTML:Add this script tag to all pages where you want the chat widget to appear.
Try out GenerativeAgent
The chat widget should now appear on your website with the default styling. You can start interacting with GenerativeAgent right away to verify the integration is working.
Try asking a simple question to confirm the chat widget is responding and GenerativeAgent is active.
Transfers and customization
This basic implementation allows you start interacting with GenerativeAgent but before you go live, you will need to implement transfers to be able to hand off conversations to your human agents:
Transfer handling
Implement seamless handoff to your human agents when GenerativeAgent cannot handle the conversation
Styling and customization
Customize the chat interface to match your brand using thestyling configuration.
As you will be loading your existing chat SDK on transfers, you will likely need to match the styling of your existing chat SDK to the GenerativeAgent chat interface.
Primary brand color for buttons and highlights. Accepts hex colors (e.g., ‘#FF5733’).
Accent color for secondary elements. Accepts hex colors.
Default text color for the chat interface. Accepts hex colors.
URL to your company logo image. Recommended size: 40x40 pixels.
Your company name to display in the chat header.
Background color for the chat header. Accepts hex colors.
Text color for the chat header. Accepts hex colors.
Background color for user messages. Accepts hex colors.
Text color for user messages. Accepts hex colors.
Input variables and task configuration
You can provide context to GenerativeAgent when it starts a new conversation by specifying the starting task name and input variables:The specific task name to trigger when the conversation starts. This determines which GenerativeAgent configuration to use.
Key-value pairs of context variables to provide to GenerativeAgent. These help personalize the conversation.
Handle transfers
When GenerativeAgent cannot handle a conversation, it triggers a transfer using theonTransfer callback. There are two types of transfers:
-
Agent transfers (
transferToAgent): When GenerativeAgent determines a human agent is needed, it transfers to your existing chat SDK (Salesforce, Zendesk, etc.) which should immediately engage a human agent. -
System transfers (
transferToSystem): When GenerativeAgent completes its task and needs to hand control back to your external system, it uses System Transfer Functions to pass relevant conversation data.
onTransfer callback.
Depending on your platform, you may need to create dedicate conversation entry point for these transfers to be able to directly engage the human agent.Sending users through another option menu or intent classification before engaging the human agent is a frustrating experience for your customers and should be avoided.
Example onTransfer callback
Type of transfer:
transferToAgent for human agent escalation or transferToSystem for system-level transfer.Array of message objects representing the conversation transcript up to the transfer point. Each message has the same structure as the message parameter in onMessage.
Data that should be passed to the next system handling the conversation. Only available for system transfers (
transferToSystem).Context information about the customer and conversation that should be preserved. Only available for system transfers (
transferToSystem).Unload the SDK
When transferring to human agents, you must unload the ASAPP SDK to remove the chat interface and clean up resources:Conversation events
The SDK exposes functions for key conversation events that you can use to integrate with your existing systems:onNewChat
Called when GenerativeAgent starts a new chat.Unique identifier for the new conversation.
The customer identifier for the user who started the conversation. Initially, this is randomly generated by the SDK but if the customer authenticates, this will be the customer identifier provided by the
authenticationRequest callback.onMessage
Called when either GenerativeAgent or the user sends a message.The text content of the message.
Who sent the message:
'CUSTOMER' or 'BOT'.ISO 8601 timestamp of when the message was sent.
onEndChat
Called when the user chooses to end the conversation:This callback is not invoked when GenerativeAgent transfers the conversation.
Unique identifier for the conversation that ended.
Complete array of message objects from the conversation. Each message has the same structure as the message parameter in onMessage.
Authentication handling
Some API Connections require user-specific authentication data to access your APIs. When GenerativeAgent needs to call an API that requires client authentication, it will trigger theauthenticationRequest callback.
Authentication is only required when your API Connections use client authentication data.If your API Connections only use static authentication (like API keys or basic auth), you won’t need to implement this callback.
authenticationRequest callback to return the required authentication data:
Example authenticationRequest callback
Your internal customer identifier that will be passed to API Connections.
Authentication data object. The structure depends on your API Connection’s authentication method configuration.